Issuing cards
There are six steps required to issue a card for a user with the Mobile API:
- Fetch available card programs
- Create a card application
- Accept the cardholder agreements

- Confirm card application status is
approved - Issue card (the point when a user becomes a cardholder)
- Fetch cardholder cards (to ensure card has been created correctly)

A user session token will be required to authorize requests throughout this process. To obtain a user session token, follow the steps in the authenticating users guide.
Step 1: Fetch available card programs
Since a user can be a member of multiple card programs, we first need to make a request to fetch all card programs associated with the specified user and grab the card_product_id for the program through which we will be issuing the card.
Send a GET request to the /config/cardproducts endpoint.
curl --location --request GET 'https://api.sbx.aptopayments.com/v1/config/cardproducts' \
--header 'Api-Key: Bearer {MOBILE_API_KEY}' \
--header 'Authorization: Bearer {USER_SESSION_TOKEN}'
This will return a list of card programs under the data array:
{
    "type": "list",
    "data": [
        {
            "type": "card_product_summary",
            "name": "{PROGRAM_NAME}",
            "id": "{CARD_PRODUCT_ID}",
            "allowed_countries": ["US"]
        }
    ],
    "page": 0,
    "rows": 1,
    "has_more": false,
    "total_count": 1
}
Hang on to the id associated with your card program you’ll need it in the next step.
Step 2: Create a card application
You should now send a POST request to the /user/accounts/apply endpoint with your card program ID as the card_product_id:
- cURL
- JSON
{
    "card_product_id": "{CARD_PRODUCT_ID}"
}
curl --location --request POST 'https://api.sbx.aptopayments.com/v1/user/accounts/apply' \
--header 'Api-Key: Bearer {MOBILE_API_KEY}' \
--header 'Authorization: Bearer {USER_SESSION_TOKEN}' \
--header 'Content-Type: application/json' \
--data-raw '{
   "card_product_id": "{CARD_PRODUCT_ID}"
}'
This will return a card application object. Card application objects have a next_action property, which prompts you with data the user will need to provide in order to complete their card application. If you provided all of the necessary information (secondary credential (DOB), email, home address, Social Security number) when creating the user, the next action should prompt the user to accept the cardholder agreement.
You are required to show the user the cardholder agreement at the url provided under configuration.disclaimer.value.
{
    "type": "application",
    "id": "{APPLICATION_ID}",
    "application_type": "card",
    "application_data": null,
    "status": "created",
    "create_time": 1653333277,
    "workflow_object_id": "{APPLICATION_WORKFLOW_ID}",
    "next_action": {
        "type": "action",
        "action_id": "{APPLICATION_WORKFLOW_ACTION_ID}",
        "order": 3,
        "status": 1,
        "editable_status": true,
        "action_type": "show_disclaimer",
        // ...
        "owner_module": "pl_workflow",
        "configuration": {
            "type": "action_disclaimer_config",
            "disclaimer": {
                "type": "content",
                "format": "http://url-to-disclaimer-agreement",
                "value": ""
            },
            "agreements_keys": ["evolve_privacy", "evolve_eua", "apto_cha", "apto_privacy"]
        },
        "labels": null
    }
}
If, for some reason, you didn’t provide all the required basic information upon user creation, you will be prompted to “collect_user_data”. This can be done by sending a PUT request to the /user endpoint
Step 3: Accept the cardholder agreements
Once the user has seen and read the agreement, you can confirm their acceptance by sending a POST request to the /disclaimers/accept endpoint. You will need to include the workflow_object_id and action_id from the card application object returned in step two:
- cURL
- JSON
{
    "workflow_object_id": "{APPLICATION_WORKFLOW_ID}",
    "action_id": "{APPLICATION_WORKFLOW_ACTION_ID}"
}
curl --location --request POST 'https://api.sbx.aptopayments.com/v1/disclaimers/accept' \
--header 'Api-Key: Bearer {MOBILE_API_KEY}' \
--header 'Authorization: Bearer {USER_SESSION_TOKEN}' \
--header 'Content-Type: application/json' \
--data-raw '{
   "workflow_object_id": "{APPLICATION_WORKFLOW_ID}",
   "action_id": "{APPLICATION_WORKFLOW_ACTION_ID}"
}'
Step 4: Confirm the card application status is “approved”
At this point, retrieve the user’s card application status. The first step is to check to make sure there aren’t any unfulfilled actions left in the card application process. Send a GET request to the /user/accounts/applications/{application_id}/status endpoint, where application_id is the ID returned with the card application object.
curl --location --request GET 'https://api.sbx.aptopayments.com/v1/user/accounts/applications/{APPLICATION_ID}/status' \
--header 'Api-Key: Bearer {MOBILE_API_KEY}' \
--header 'Authorization: Bearer {USER_SESSION_TOKEN}'
The expectation is that the response will include a status property with the value “created” and next_action, which will provide a new action_id and prompt you to sign the second agreement. Repeat step 3 using this new action_id and then repeat this step to get the updated application status. At this point, assuming all actions have been completed, status should have the value “approved” and next_action should return null:
{
    "type": "application",
    "id": "entity_5f5d800872cb629b",
    "application_type": "card",
    "application_data": null,
    "status": "approved",
    "create_time": 1614896944,
    "workflow_object_id": "entity_d9407b583963e56a",
    "next_action": null
}
If next_action is not null, complete the requested action before continuing.
Step 5: Issue a card
It’s time to issue your user’s card. Send a POST request to the /user/accounts/issuecard endpoint with the applicant’s user session token:
- cURL
- JSON
{
    "application_id": "entity_5f5d800872cb629b"
}
curl --location --request POST 'https://api.sbx.aptopayments.com/v1/user/accounts/issuecard' \
--header 'Api-Key: Bearer {MOBILE_API_KEY}' \
--header 'Authorization: Bearer {USER_SESSION_TOKEN}' \
--header 'Content-Type: application/json' \
--data-raw '{
   "application_id": "entity_5f5d800872cb629b"
}'
Congratulations, your user is now a cardholder! The response contains the basic, non-PCI-protected data of the card, including the card’s state, which can be "active", "inactive", "cancelled", "created", or "unknown". The response also contains a features section that helps with SDK implementation; please contact us if you want to use this data.
{
    "type": "card",
    "account_id": "crd_98hnhu9sc7i9ay73375",
    "last_four": "1234",
    "card_network": "VISA",
    "card_brand": "Marvel Card",
    "card_issuer": "Apto Payments",
    "expiration": "2021-03",
    "pan": "4000123456739010",
    "cvv": "123",
    // ...
    "state": "active",
    "features": {
        "get_pin": {
            "status": "enabled",
            "type": "IVR",
            "ivr_phone": {
                "country_code": 1,
                "phone_number": 9366666715
            }
        },
        "set_pin": {
            "status": "enabled",
            "type": "IVR",
            "ivr_phone": {
                "country_code": 1,
                "phone_number": 9366666715
            }
        }
        // etc...
    }
}
Step 6: Confirm card has been correctly created
Finally, we can confirm the card was correctly created by sending a GET request to the user/accounts endpoint:
curl --location --request GET 'https://api.sbx.aptopayments.com/v1/user/accounts' \
--header 'Api-Key: Bearer {MOBILE_API_KEY' \
--header 'Authorization: Bearer {USER_SESSION_TOKEN}'
This should return a list of all the cardholder’s cards:
{
    "type": "list",
    "data": [
        {
            "type": "card",
            "account_id": "crd_98hnhu9sc7i9ay73375",
            "last_four": "1234",
            "card_network": "VISA",
            "card_brand": "Marvel Card",
            "card_issuer": "shift",
            "expiration": "2021-03",
            "pan": "tok_XXXXXXXXXX",
            "cvv": "tok_XXXXXXXXXX",
            "state": "active"
            // etc...
        }
    ],
    "page": 0,
    "rows": 0,
    "has_more": false,
    "total_count": 11
}
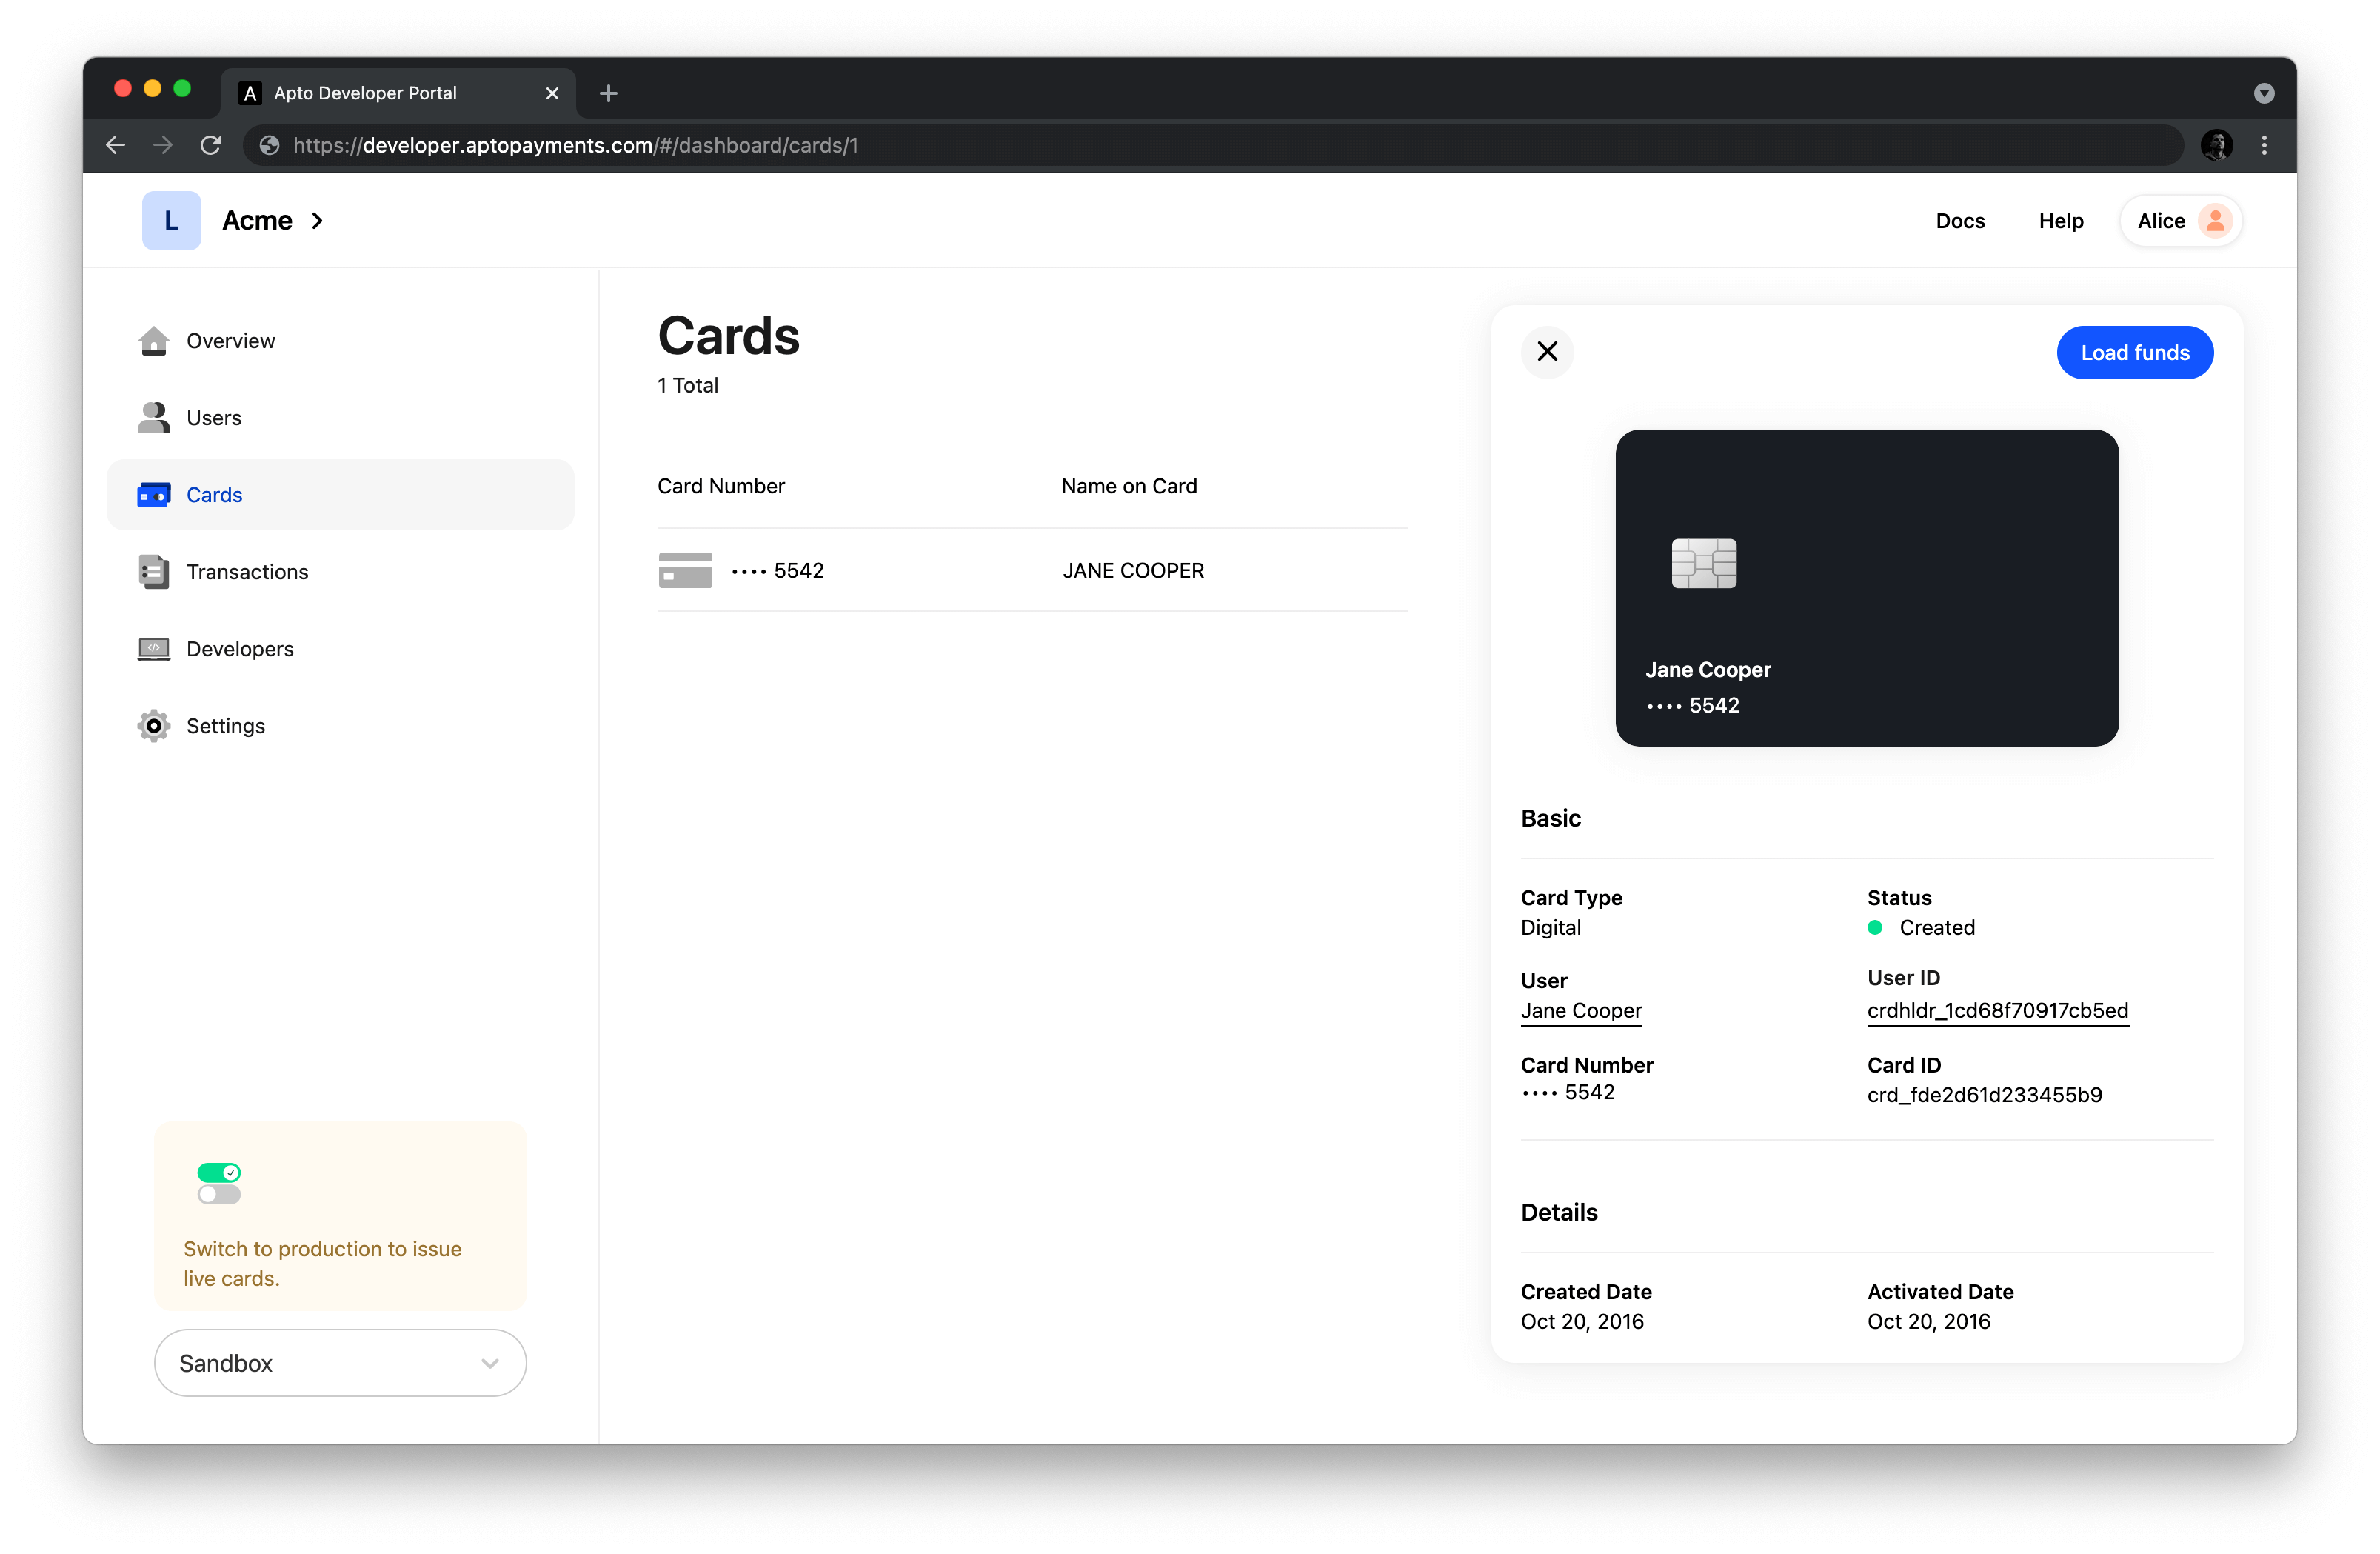
Log in to your developer portal account and click on the "Cards" tab, you should see the newly created card listed: